

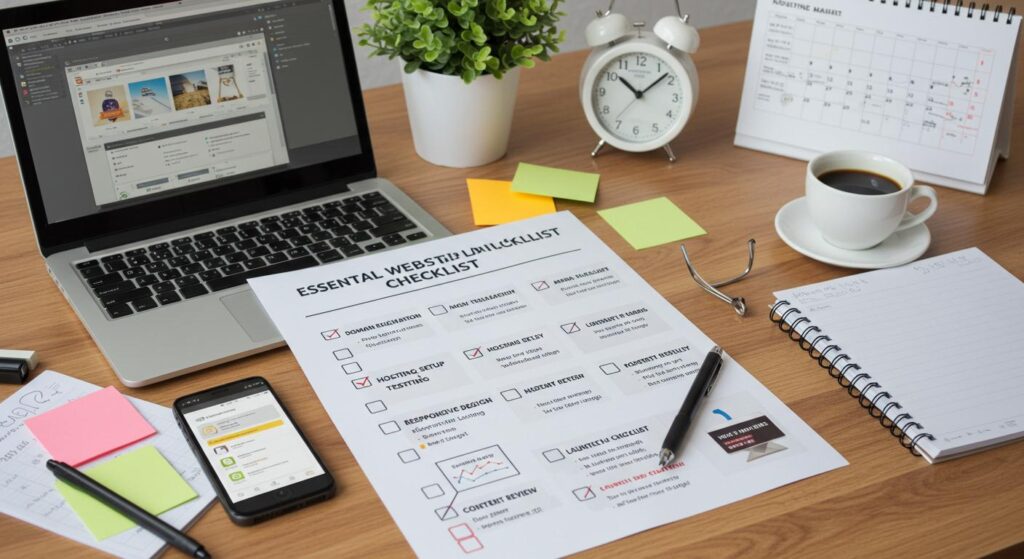
Launching a website takes more than finishing the design and clicking publish. A page can look perfect on your laptop while its contact form sends enquiries nowhere, its mobile menu refuses to open or Google remains blocked from indexing it. A website launch checklist helps you catch these problems before real visitors encounter them.
Whether you’re launching a new business website, opening an online store or replacing an older website, the final checks matter. A few minutes spent testing the right things can save you hours of repairs later.
Use these 15 checks before going live. Work through them one by one and mark each task complete only after you’ve tested it.
1. Review Every Important Website Page
Start with your content. Visitors should understand what your business does, who it helps and how to contact you without searching through several pages.
Open every important URL and check the following:
- The homepage explains your business clearly.
- Service pages describe what you do and who your services are for.
- The About page gives visitors a genuine reason to trust your business.
- The Contact page includes accurate contact details.
- Blog posts contain complete information and working links.
- Pricing, service areas and business hours are correct.
- No placeholder text, sample images or unfinished sections remain.
Pay particular attention to your homepage headline. If someone lands on your website for the first time, they should understand your main service within a few seconds.
For small businesses, page structure matters too. This small business website design guide can help you review the pages your website needs and how they should support your customers.
Before moving on: Ask someone unfamiliar with your business to browse the site. Can they explain what you do and find your contact details without your help?
2. Test Your Website on Mobile Devices

A website that works on a desktop computer can behave differently on a phone. Text may become difficult to read, buttons can overlap and navigation menus may stop working.
Open your website on an actual smartphone and test the main pages. If possible, check both Android and iPhone devices.
Look for these problems:
- Text that requires zooming to read.
- Buttons that are too small or close together.
- Images extending beyond the screen.
- Menus that won’t open or close.
- Forms that are difficult to complete.
- Pop-ups covering important content.
- Phone numbers that aren’t clickable when appropriate.
Check the mobile version of your contact form carefully. Visitors should be able to enter their details, select options and submit the form without fighting the layout.
Also test the website on different screen sizes using your browser’s developer tools. This helps you spot layout problems between common phone, tablet and desktop widths.
If you’re redesigning an existing site, review the website redesign guide for further ideas on mobile usability, navigation and preserving existing SEO value.
3. Check Website Speed and Performance

Slow pages frustrate visitors. They can also make it harder for people to complete important actions such as requesting a quote or buying a product.
Start with Google PageSpeed Insights. Enter your website URL and review the mobile and desktop results.
Pay attention to the Core Web Vitals:
- Largest Contentful Paint (LCP): Measures how quickly the main content becomes visible. A good result is 2.5 seconds or less.
- Interaction to Next Paint (INP): Measures how quickly a page responds to user interactions. Aim for 200 milliseconds or less.
- Cumulative Layout Shift (CLS): Measures unexpected movement of page elements. Aim for a score of 0.1 or less.
These thresholds are assessed at the 75th percentile of real user visits when field data is available. A single laboratory test gives you useful clues but doesn’t tell the whole story.
If your site loads slowly, start by checking large images, unnecessary scripts, heavy animations and hosting performance. Compress images before uploading them and use appropriately sized files.
Avoid installing several speed plugins without testing their effects. Two tools trying to modify the same scripts can cause new problems.
Run the test again after making changes. Record your starting results so you can compare them with the final version.
4. Check Your Domain and Hosting Settings
Your domain is the address visitors use to reach your website. Your hosting service stores the files and systems that make it work.
Before launch, confirm that both are configured correctly.
- Your domain registration is active.
- Domain renewal settings are correct.
- DNS records point to the intended hosting service.
- Your hosting plan supports the website’s requirements.
- The correct version of your website loads.
- Your business email works if it’s connected to the domain.
- Your preferred domain version is consistent.
For example, decide whether your primary address uses www or no www. Both versions should lead to one preferred version through the correct redirects.
Check the website on more than one internet connection if possible. DNS changes can take time to appear everywhere, so an address that works on your own computer might behave differently elsewhere during a migration.
If your website is replacing an older one, keep access to the old hosting account and a copy of the previous site until you’ve confirmed the new version works properly.
5. Install and Verify Your SSL Certificate
Your website should use HTTPS with a valid SSL/TLS certificate. This protects information exchanged between the visitor’s browser and your server.
Open your homepage using https:// and inspect the browser’s security information. Check several important pages as well, especially login, checkout and contact pages.
Confirm that:
- The certificate is valid and hasn’t expired.
- HTTP requests redirect to HTTPS.
- Images and scripts load securely.
- Forms work without browser security warnings.
- The preferred domain version loads consistently.
A common problem is mixed content. This happens when an HTTPS page tries to load an image, script or other resource over HTTP.
Browsers may block some insecure resources or display warnings. Check the browser console if parts of the page fail to load.
HTTPS is a basic requirement for a professional business website. However, a valid certificate alone doesn’t protect a site against every security threat. You still need updates, access controls and reliable backups.
6. Review Your Website SEO Settings
Your website can look excellent and still struggle to appear in search results if important SEO settings are missing or incorrect.
Review the main pages individually. Each page should have a clear purpose and information that matches what visitors are searching for.
Check these on-page SEO elements:
- A descriptive page title.
- A useful meta description.
- One clear main heading.
- Logical H2 and H3 subheadings.
- Relevant internal links.
- Descriptive image alt text where appropriate.
- A suitable canonical URL.
- Accurate, helpful content.
Use your primary keyword naturally in the page title, main heading and relevant body content. Related phrases should fit the topic rather than appear simply to increase keyword frequency.
For example, a page about website launch preparation can cover mobile testing, indexing, security and performance because these are genuine parts of the task.
If you’re unsure about your technical and on-page SEO, review Clear Solutions’ SEO services in Calgary to understand the areas a professional SEO review can cover.
For additional guidance, read Google’s SEO Starter Guide. It explains how to help search engines understand your content and how to make your pages easier for people to find.
7. Make Sure Google Can Find and Index Your Website
This check deserves special attention if your site was built on a staging server or kept private during development.
A website can be online and still be blocked from appearing in search results. This sometimes happens when a developer leaves a no index instruction in place after launch.
Check the following:
- Public pages aren’t accidentally marked with no index.
- Your robots.txt file doesn’t block important content.
- The XML sitemap exists and contains the correct URLs.
- Canonical tags point to the preferred page versions.
- Important pages can be reached through internal links.
- Old URLs redirect correctly when they’ve changed.
Open Google Search Console and add your website property if you haven’t already. Use URL Inspection to check important pages and submit your XML sitemap through the Sitemaps report.
Submitting a sitemap helps Google discover URLs, but it doesn’t guarantee that every page will be indexed.
If you’re launching a replacement website, create a list of old URLs and their new destinations before switching over. Set up permanent redirects for pages that have moved and avoid sending every old URL to the homepage.
Once the site is live, monitor indexing reports and fix any unexpected errors.
8. Test Every Contact Form and Call to Action
A contact form is only useful when the submission reaches the right person.
Test every important form yourself. Use a real email address you can access and submit a test enquiry from both desktop and mobile.
Check that:
- Required fields work correctly.
- Invalid email addresses trigger useful error messages.
- Successful submissions display a confirmation.
- Notification emails reach the correct inbox.
- Automatic replies work when configured.
- Spam protection doesn’t block genuine users.
- Booking links and phone buttons work.
Don’t assume a success message means the email was delivered. Check the receiving inbox and spam folder.
If your website has a quote request form, try completing it as a real customer would. Look for confusing questions, unnecessary fields and unclear instructions.
The same applies to calls to action. A button labelled “Request a Quote” should lead to a working form or the appropriate contact page.
A website that attracts visitors but fails to capture enquiries loses business opportunities. Clear Solutions explains more about this problem in its guide on how to generate leads from your website.
9. Check Navigation and Internal Links
Visitors should be able to move around your website without hitting dead ends.
Click every main menu item and test the links in your header, footer, sidebar and important content sections.
Look for:
- Broken internal links.
- Links pointing to staging URLs.
- Incorrect page destinations.
- Empty menu items.
- Buttons leading to outdated pages.
- Missing or confusing breadcrumb links were used.
Internal links help visitors discover related content. They also help search engines understand how your pages relate to each other.
For example, a blog post about launching a website can link to a related SEO guide or website maintenance resource when that page genuinely helps the reader.
Use descriptive anchor text that explains the destination. Avoid using the same generic phrase for every link.
You can also run a website crawl with an SEO tool to identify broken URLs across many pages at once. Review the results manually before making changes because some URLs may be intentionally unavailable.
10. Review Website Security and User Access
Small business websites need security checks too. Automated attacks frequently target common software vulnerabilities and weak login credentials.
Before launching, review your website’s security settings.
- Update the CMS, themes and plugins to supported versions.
- Remove unused plugins, extensions and themes.
- Change default passwords.
- Enable multi-factor authentication where available.
- Remove old administrator accounts.
- Give each user only the access they need.
- Check that backups are running.
- Review any security alerts from your hosting provider.
If your site uses WordPress, pay particular attention to plugins and themes. An outdated extension can create a security risk even when the main WordPress installation is current.
Avoid making updates directly on a busy production website without a recovery plan. Test major changes on staging where possible.
If customers can create accounts, submit personal details or make payments, review how that information is stored and protected. Check that third-party integrations use secure connections and that access to sensitive data is restricted.
Security is an ongoing responsibility. Set a schedule for checking software updates, reviewing accounts and monitoring suspicious activity after launch.
11. Prepare Backups and a Recovery Plan
A backup gives you a way to restore your website if an update fails, a security incident occurs or important files disappear.
Create a fresh backup before launch. It should include the website files and database where applicable.
Then verify that you can access the backup and understand how restoration works.
A useful backup plan includes:
- Automatic backups on a suitable schedule.
- A copy stored outside the main hosting account.
- Clear backup retention rules.
- A record of how to restore the site.
- Periodic restoration tests.
For a simple brochure website, weekly backups might be sufficient depending on how often the content changes. A busy online store may need daily or more frequent backups to avoid losing orders and customer information.
Don’t rely on a backup notification alone. A backup can fail silently or contain incomplete data.
Also keep a copy of important configuration details, including DNS settings and third-party integrations. You don’t need to store sensitive credentials in an ordinary document; use a secure password manager instead.
For ongoing care after launch, Clear Solutions’ website maintenance checklist for small businesses covers regular tasks such as software updates, backups, broken links and performance monitoring.
12. Test Accessibility and Ease of Use
Your website should be usable by people with different abilities and different ways of browsing.
Start with a few simple checks. Try navigating the website using only your keyboard. You should be able to move between links and buttons and see which element currently has focus.
Review the following:
- Text has sufficient contrast against its background.
- Images that communicate information have useful alt text.
- Form fields have clear labels.
- Error messages explain what needs fixing.
- Headings follow a sensible order.
- Buttons describe their actions.
- Videos have captions when needed.
- Important functions work without a mouse.
Automated accessibility tools can identify some common issues, but they won’t catch everything. Manual testing is still necessary.
Pay particular attention to forms and checkout steps because a barrier in these areas can prevent someone from contacting your business or completing a purchase.
Check your privacy policy and terms where applicable. If your website collects personal information or uses tracking technologies, make sure your disclosures and consent practices reflect what the site actually does.
Requirements vary by location and business type. Get appropriate advice if you’re unsure which privacy or accessibility rules apply to your organisation.
13. Verify Analytics and Conversion Tracking
Once your website goes live, you’ll want to know whether people are visiting and taking useful actions.
Set up Google Analytics if it suits your measurement needs. Connect Google Search Console to monitor search visibility, indexing and organic search performance.
Before launch, verify that your tracking setup works.
Check that:
- Analytics receives test visits.
- Important page views are recorded.
- Contact form submissions are tracked where appropriate.
- Purchase or booking events work if relevant.
- Duplicate tracking tags aren’t inflating data.
- Privacy settings match your consent requirements.
Test your key actions instead of relying on a dashboard that merely shows page views.
For a service business, meaningful actions might include a quote request, a phone call or a booked consultation. For an online store, purchases and checkout completion matter more than visits alone.
If you use advertising platforms or a CRM, check that their integrations are working too. Test events from beginning to end so you know the information reaches the correct destination.
Record a baseline after launch. Review the numbers regularly and use them to identify problems. A sudden drop in enquiries, for example, might indicate a broken form or a page that has stopped receiving traffic.
14. Complete the Final Launch-Day Checks
By launch day, the major problems should already be fixed. Your job now is to confirm that the production website works as expected.
Use this final checklist immediately before and after publishing.
Task | What to verify |
Domain | The correct website loads |
HTTPS | The certificate is valid |
Homepage | Main content and links work |
Mobile | Navigation and layouts function |
Contact forms | Test enquiries arrive |
SEO | Important pages are indexable |
Sitemap | Correct production URLs are listed |
Redirects | Old URLs reach the right destinations |
Analytics | Test visits and key events are recorded |
Backups | A current recovery copy is available |
Security | Admin access and software versions are checked |
Legal pages | Relevant privacy and terms pages are published |
Keep a list of any remaining issues and assign each one to a person who can fix it.
A minor spacing issue may not prevent launch. A broken checkout, invalid certificate, inaccessible main navigation or contact form that loses enquiries deserves immediate attention.
If you’re moving an existing website to a new platform, keep the previous version available until the new site has passed its production checks. Have a rollback plan ready in case a serious issue appears.
15. Monitor the Website After Launch
Publishing the website is the start of its working life. The first few days help you find problems that didn’t appear during staging tests.
During the first 24 to 48 hours, check your main pages, forms, redirects and analytics again. Review server errors and confirm that visitors can complete important actions.
Then continue checking over the following weeks.
During the first week:
- Review Google Search Console for indexing or crawl issues.
- Check analytics for unexpected drops in visits.
- Test forms and booking links again.
- Review mobile performance.
- Check for broken links and missing images.
During the first month:
- Compare actual performance with your baseline.
- Review organic search impressions and clicks.
- Check whether key pages are being indexed.
- Update content where users appear confused.
- Review leads, sales or other business goals.
Don’t panic if your new pages don’t appear in Google immediately. Crawling and indexing take time and results vary. Focus first on fixing technical problems and ensuring that important pages are accessible.
For ongoing updates, security checks and performance reviews, consider a regular website maintenance service in Calgary. A consistent maintenance routine helps catch issues before they become expensive repairs.
Final thoughts
A reliable launch comes down to testing the things your visitors depend on. Check your content, mobile layout, forms, security, search settings and analytics before you publish. Then repeat the most important checks once the live website starts receiving real traffic.
Work through this website launch checklist and keep a record of what you’ve tested. You’ll have a clearer picture of what’s ready, what needs attention and what to monitor next.
If you’re preparing a new website or your current one needs a technical review, contact Clear Solutions IT to discuss your website design, SEO or maintenance needs.